Classic Crème Brûlée
Highlighted under: Daily Kitchen
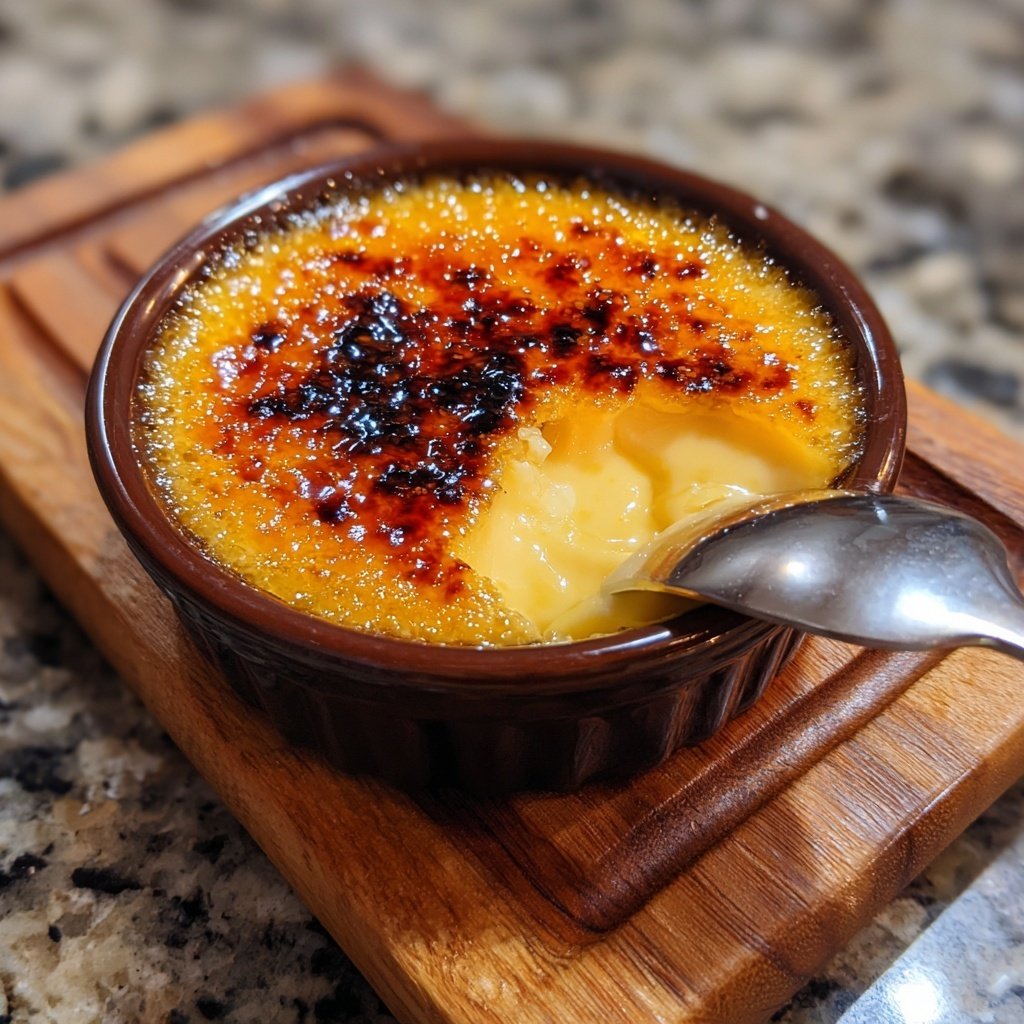
I’ve always been captivated by the elegance of a perfectly made Crème Brûlée. There's something magical about the way the creamy custard contrasts with the brittle, caramelized sugar on top. Each spoonful is like a little celebration, and I love how this dessert elevates any occasion. Making it at home may seem daunting, but I’m excited to share that with a few simple steps, you can create this refined treat in your kitchen. It’s definitely worth the effort when you see the smiles on your guests' faces!
When I first attempted to make Crème Brûlée, I was intimidated by the thought of achieving that perfect caramel crust. Through trial and error, I discovered that a kitchen torch is your best friend when it comes to caramelizing the sugar. It allows for greater control and prevents the sugar from burning too quickly, which can leave you with a bitter taste. After mastering the technique, I was so pleased with the result that I couldn't help but share it with friends and family.
The key to a velvety custard lies in using high-quality ingredients. Opting for fresh vanilla beans instead of extract makes a remarkable difference in flavor. The aroma and richness truly shine through in every bite. I remember serving this to my closest friends, and the compliments fueled my passion to perfect this classic dessert further.
Why You'll Love This Recipe
- Rich, creamy custard with a perfect vanilla flavor
- Crunchy caramel layer that adds texture contrast
- Impressive dessert that never fails to wow guests
Understanding the Ingredients
The choice of cream in Crème Brûlée is crucial to achieving that rich, velvety texture. Heavy cream, with its higher fat content, ensures a luxurious mouthfeel. If you’re looking to lighten the recipe, you can substitute half of the heavy cream with whole milk, but be prepared for a slightly less rich custard. For the vanilla, using vanilla bean paste is my favorite option as it provides a more intense flavor and lovely specks of vanilla throughout the custard, enhancing both taste and presentation.
Egg yolks play a vital role, not just for richness but also for color and texture. When whisked with sugar, they create a smooth mixture that, when combined with cream, helps form a luscious custard. It’s important to thoroughly whisk the yolks and sugar until they turn pale and thick—this process ensures that the sugar dissolves completely and prevents graininess in the final product.
Mastering the Cooking Techniques
Tempering the eggs is a critical step to prevent curdling. Gradually pouring the warm cream into the egg yolks—while continuously stirring—allows the eggs to adjust to the heat without scrambling. This technique is essential for achieving that silky-smooth custard. Whenever you’re uncertain, keep an eye on the mixture; it should be warm but not so hot as to create any lumps. Straining the mixture further ensures that any bits of cooked egg are removed, resulting in a flawless custard.
When baking the custard, using a water bath is a technique that promotes even cooking and prevents the edges from drying out. Filling the baking dish with hot water halfway up the sides of the ramekins not only helps distribute heat but also helps to maintain moisture during baking. Knowing when it's done can be tricky; look for a slight jiggle in the center while the edges should be just set, which typically takes about 30 to 40 minutes.
Ingredients
Ingredients
For the Custard
- 2 cups heavy cream
- 1 tablespoon vanilla bean paste or 1 vanilla bean, split
- 5 large egg yolks
- 1/2 cup granulated sugar
- Pinch of salt
For the Topping
- 1/4 cup granulated sugar
Make sure to preheat your oven before you start!
Instructions
Instructions
Prepare the Oven
Preheat your oven to 325°F (160°C) and place four ramekins in a baking dish.
Heat the Cream
In a saucepan, heat the heavy cream and vanilla over medium heat until it begins to simmer. Remove from heat and let it steep for 15 minutes.
Mix Egg Yolks and Sugar
In a mixing bowl, whisk together the egg yolks, granulated sugar, and salt until pale and slightly thickened.
Combine Mixtures
Slowly pour the warm cream into the egg yolk mixture, stirring continuously to temper the eggs. Strain through a fine sieve into another bowl.
Bake the Custard
Pour the custard into the ramekins and fill the baking dish with hot water halfway up the sides of the ramekins. Bake for 30-40 minutes or until just set.
Cool and Chill
Remove from the oven and let the ramekins cool. Then, refrigerate for at least 2 hours or overnight.
Caramelize the Top
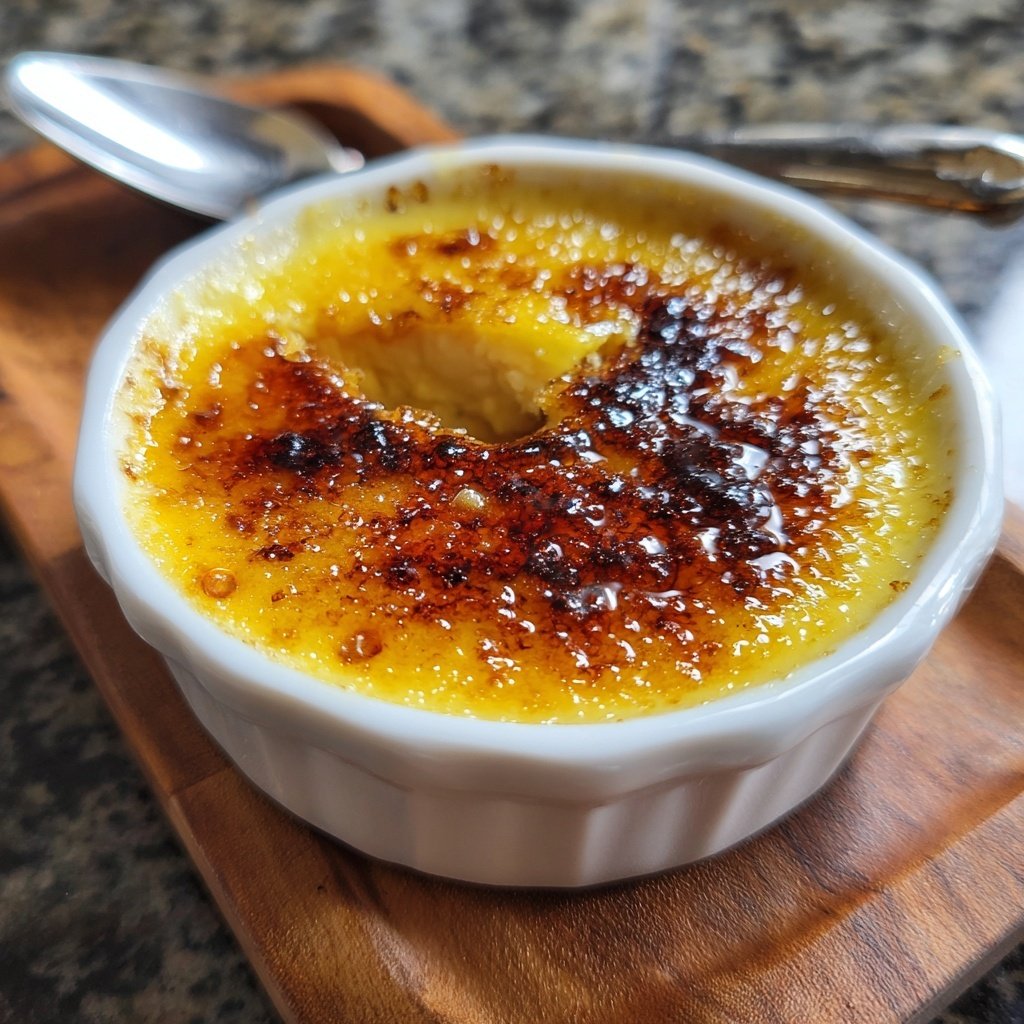
Sprinkle sugar evenly over the chilled custards. Using a kitchen torch, carefully melt the sugar until it forms a crispy, golden layer.
Allow the Crème Brûlée to sit for a couple of minutes before serving; this enhances the crunch of the sugar topping!
Pro Tips
- For a flavored twist, consider adding a few drops of orange zest or a dash of espresso powder to your custard mixture before baking.
Chilling and Serving Your Crème Brûlée
Chilling the custards is not just about cooling; it’s a crucial part of the process that allows the flavors to meld beautifully. I recommend refrigerating for at least two hours, but overnight is even better. This gives the custard time to set fully, achieving that desired creamy consistency. When ready to serve, make sure the custard is well-chilled before introducing the crispy sugar layer, as the contrast of temperatures enhances the experience.
When it comes to caramelizing the sugar, patience is key. Using a kitchen torch provides a quick and even caramelization, but ensure you hold the flame about 2 inches away and move it in circles to avoid burning any spot. If you don’t have a torch, broiling in the oven can work; just keep an eye on it to prevent burning. Once the sugar has caramelized, let it sit for a minute to harden before serving for the perfect crack.
Troubleshooting Common Issues
If your custard has a grainy texture, it may be due to improperly tempered eggs. It’s vital to pour the cream into the eggs slowly to allow for proper mixing. If this does happen, you can blend the custard after it cools to restore some creaminess, although it may not be as smooth as initially intended. Another tip is to strain your custard mixture twice if you're concerned about any remaining egg bits.
When caramelizing sugar, some may struggle with achieving that golden layer. If the sugar doesn’t melt quickly enough, it might be coated too thickly. A thin, even layer of sugar will caramelize more efficiently. Keep your torch moving and avoid hovering too long in one spot, as this can lead to burnt sugar, which tastes bitter. Experimenting with the amount of sugar may also help achieve your ideal topping!
Questions About Recipes
→ Can I make Crème Brûlée in advance?
Yes, you can prepare the custards a day ahead, but add the sugar topping just before serving for the best texture.
→ What can I use instead of a kitchen torch?
If you don't have a torch, you can place the ramekins under a broiler for a minute or two, but watch closely to avoid burning.
→ How do I know when the custard is set?
The custard should be slightly jiggly in the center, but firm around the edges; it will continue to set as it cools.
→ What is the best way to store leftovers?
Store leftover Crème Brûlée covered in the refrigerator for up to 2 days. Re-crème brûlée before serving.
Classic Crème Brûlée
Created by: Elara Kensington
Recipe Type: Daily Kitchen
Skill Level: Intermediate
Final Quantity: 4 servings
What You'll Need
For the Custard
- 2 cups heavy cream
- 1 tablespoon vanilla bean paste or 1 vanilla bean, split
- 5 large egg yolks
- 1/2 cup granulated sugar
- Pinch of salt
For the Topping
- 1/4 cup granulated sugar
How-To Steps
Preheat your oven to 325°F (160°C) and place four ramekins in a baking dish.
In a saucepan, heat the heavy cream and vanilla over medium heat until it begins to simmer. Remove from heat and let it steep for 15 minutes.
In a mixing bowl, whisk together the egg yolks, granulated sugar, and salt until pale and slightly thickened.
Slowly pour the warm cream into the egg yolk mixture, stirring continuously to temper the eggs. Strain through a fine sieve into another bowl.
Pour the custard into the ramekins and fill the baking dish with hot water halfway up the sides of the ramekins. Bake for 30-40 minutes or until just set.
Remove from the oven and let the ramekins cool. Then, refrigerate for at least 2 hours or overnight.
Sprinkle sugar evenly over the chilled custards. Using a kitchen torch, carefully melt the sugar until it forms a crispy, golden layer.
Extra Tips
- For a flavored twist, consider adding a few drops of orange zest or a dash of espresso powder to your custard mixture before baking.
Nutritional Breakdown (Per Serving)
- Calories: 380 kcal
- Total Fat: 26g
- Saturated Fat: 15g
- Cholesterol: 195mg
- Sodium: 85mg
- Total Carbohydrates: 32g
- Dietary Fiber: 3g
- Sugars: 24g
- Protein: 6g